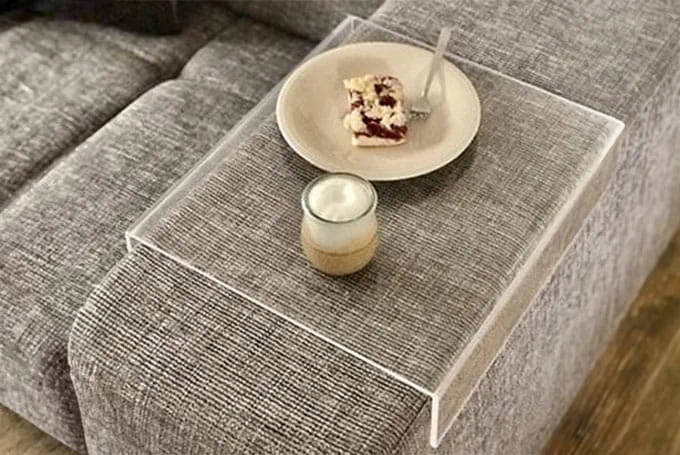
DIY sofa armrest tray made from acrylic glass
Description
The following material is required:
- A panel of acrylic glass (approx. 8 mm), can be a little thicker as well
- Acrylics adhesive
- Isopropanol cleaning fluid
- Lever clamps
- Square timber
- Sheet of paper
- Polishing agents
Tools/accessories
Alternative tools
Preparation/set-up
-
Using the perfect accessories
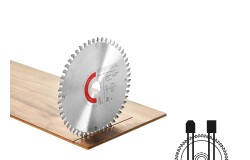
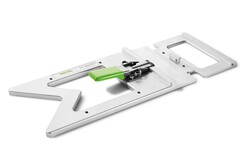
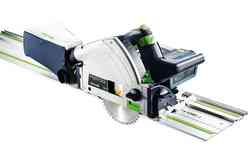
We are using a trapezoidal/flat tooth circular saw blade suitable for processing plastic materials to cut the acrylic glass panel to size. For straight cuts, we are using the 90° angle stop which is clamped to the guide rail. This generates the perfect cut.

-
Measuring the contact surface
We are using a try-square to measure the width of our tray contact surface and, in our case, we are adding approx. 2 cm to account for the glueing surface of the side sections.

-
Clamping the acrylic glass panel
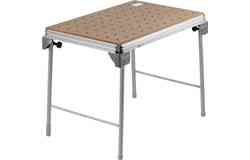
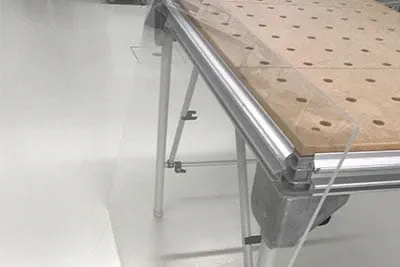
The MFT allows us to work very comfortably at a height of 90 cm. Once we have transferred the required measurements, we are securing our guide rail to the acrylic glass panel.

-
Adjusting the cutting depth
We are adjusting the cutting depth to approx. 3–5 mm more than the material thickness to avoid cutting into the MFT tabletop too deeply.

-
Setting the speed
Depending on the material, it may be necessary to reduce the speed to ensure the acrylic glass does not start to melt. In our case, we are using setting 4. A test cut is a great way to determine the correct setting.

Procedure
-
Tip:
The deflector fitted on the guide rail prevents the suction hose and cable from getting caught.

-
Cutting the three pieces to size
Once you have cut the contact surface, cut the two side section that will secure the tray to the armrest/ottoman. In our example, these are 8 cm big.

-
Fine sanding/blunting of cutting edges
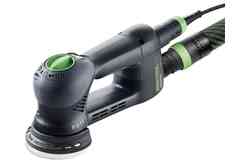
Use a Granat 400 abrasive to sand the rough cutting edges and blunt them slightly.

-
Tip: Cutting a 90° square timber to size for support
To create a right angle for the side sections when clamping, we recommend clamping a planed piece of square timber in front. In this example, we also created a chamfer to make sure the wood does not come into contact with the adhesive (see the next steps).

-
Cleaning the acrylic glass
If the protective film is still present, carefully remove it from the area to be glued. Then clean the parts to be glued with isopropanol or benzene-free petroleum ether (don't forget to wear protective equipment).

-
Positioning the sides to be glued
Place either one or two layers of paper, depending on how thick it is, between the parts to be connected to create a small glue joint. The side sections are offset towards the inside by about half a centimetre to create a nicer glueing surface.

-
90° clamping of the individual parts
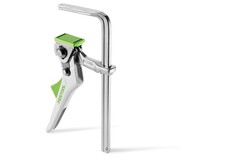
We are now going to clamp (with lever clamps in our example) our three parts together at a right angle, using the supporting square timber as an aid, and then remove the paper again.

-
Glueing the parts
Create an even glue joint with the acrylics adhesive, moving towards the corners of the clamped acrylic glass sections. The adhesive will also settle in the joint. Then leave the adhesive to dry according to the manufacturer's instructions before taking the next steps.

-
Levelling out the protrusions
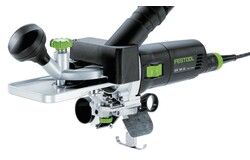
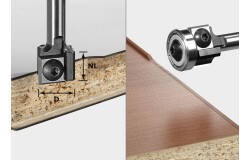
Once the adhesive has fully cured, use a router or edge router to level out the protrusions.

-
Routing the curve
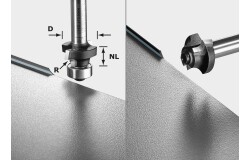
You can now route the curved edge. Refer to the "Routing curves in wooden edges using the MFK" application example for the settings and the routing process. We used a 5 mm radius router in this example.

-
Sanding routing marks and any scratches
Depending on the depth of the scratches, carry out some preliminary sanding until you get to grit size 1000. As the acrylic glass did have a few scratches in our example, we needed several steps with grit sizes 400, 500 and 1000. (Refer to the "Sanding Plexiglas edges" application example)

-
Polishing the surfaces
Then polish the sanded surfaces (refer to the "Polish Plexiglas and smooth cutting edges" application example). Done!

-
Lean back and relax
As a reward, why not treat yourself to cake alongside your coffee – beautifully presented on your new DIY sofa armrest tray. Well done!


