Sawing base boards
Description
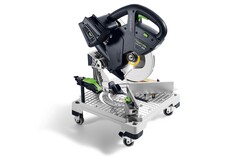
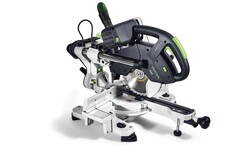
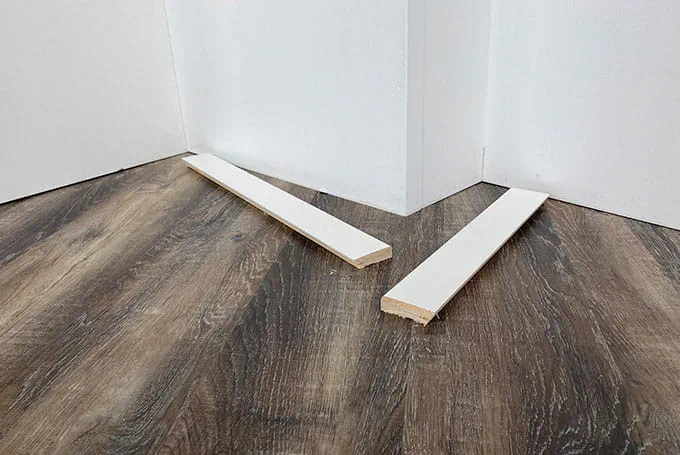
The following application example shows you how easy cutting strips has become with this compound mitre saw.
Tools/accessories
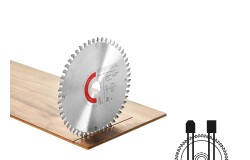
The following tools and accessories are recommended in this application example:
Alternative tools
The following tools and accessories are recommended as an alternative:
Preparation/set-up
-
You should make the following preparations before sawing the strips:
Use the bevel to measure the angle at the walls. You should use the supplied bevel for this.

-
Now transfer this angle to the two stops by first releasing the two switch levers, setting the angle exactly and then setting the switch levers again.

-
Adjust the speed of the compound mitre saw to match the material and the saw blade.

Procedure
-
Proceed as follows to saw the strips:
Place the strip against the angle stop. Press the lever fitted on the handle of the saw to retract the pendulum hood of the saw. Switch the saw on. To check whether the strip is correctly positioned, the saw can first be pushed down onto the strip with the pendulum hood retracted. This indicates whether the strip is cut at the correct point.

-
Now place the next strip to be cut into position and, if necessary, also check here whether the saw is cutting exactly at the marking. This step can be omitted as you gain experience.

-
Note
If your parts, such as an octagonal tabletop, are cut exactly to size, measurement with the bevel is often unnecessary.

-
In such cases, you can set the angle directly using the scale on the saw table and cut the strips to size.

-
If the strip has a long protrusion, it is possible to move the stop ruler back in order to saw the strip at the correct point.

-
The plastic part in the saw table serves as splinter protection and is cut into the first time it is used. It is therefore designed to be cut into during initial sawing. If it is worn, it can be ordered as a spare part.

-
Our illustrated guides and work results are documented working steps that we have performed in practice. They are individual examples and do not guarantee or promise that users will obtain the same results. The results will depend on the user's experience and skill, as well as the material being used. Illustrated guides do not replace any Festool operating manuals and/or safety instructions. Liability for ensuring that the information, instructions and applications are free from content defects and defects of title, in particular with regard to the absence of defects, correctness, freedom from third party intellectual property rights and copyrights, completeness and fitness for purpose, is excluded. Claims for damages made by the user, regardless of their legal basis, are excluded. These liability exclusions are not applicable if the damage was intentional or caused by gross negligence, or in cases of statutory liability.
We cannot accept liability for damage resulting from defects.↑


