Routing stairs with steps of different widths
Description
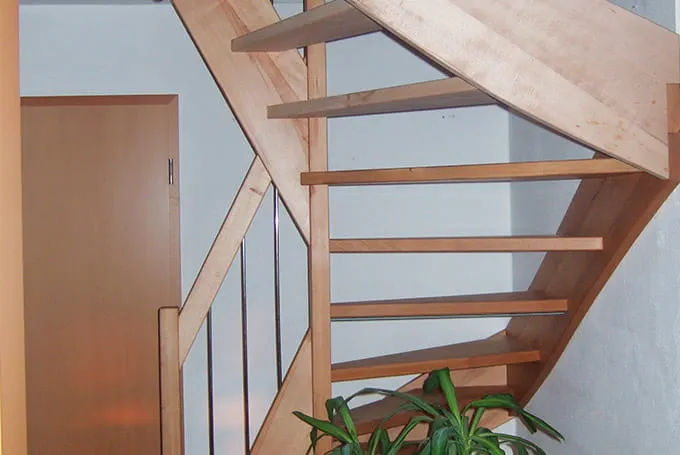
Each of the steps has a different width, depth and overall shape. This guide explains how to rout steps of varying widths for a staircase quickly, easily and precisely using the MFS routing template.
Tools/accessories
Alternative tools
Preparation/set-up
-
Thorough preparation is extremely important for difficult designs like this one. For this reason, paper templates are also used for the semi-spiral staircase components. These templates are glued to the stringer elements. The templates are used to cut the outer contour of the staircase before the steps are routed along the scribe mark.

-
This task demands a lot of power from the router. As a result, a large router is chosen to rout the staircase.
A copying ring with a diameter of 30 mm and a groove cutter with a diameter of 12 mm are inserted into this router.
Procedure
-
Wooden spacers are used to make it easy to adjust the MFS routing frame quickly and correctly.
The spacers correspond to the distance between the routing template and the cut-out itself. They must be equally thick. For example, if a copying ring with a diameter of 30 mm and a groove cutter with a diameter of 12 mm are used, the thickness of the spacer is calculated as follows.
(Copying ring diameter 30mm – cutter diameter 12 mm): 2 = 9 mm. The distances must therefore be 9 mm in this case.
-
The spacers are now positioned between the step and the routing frame. Two on the ends and four along the width of the step. Next, the frame is pushed together by loosening the screws on the side of the wooden step; it is then clamped.
This reproduces the step 1:1 in the routing frame.
The step is now removed from the routing frame; the frame can now be clamped to the stair stringer at the paper scribe mark.
In this case, the spacers also help to align the routing template quickly; they must be removed after being aligned and clamped.
-
The routing depth can now be set. To do so, the machine is placed on the frame and the cutter is lowered down to the surface of the stringer.
The routing depth can now be set at the depth stop on the router.
Once all the settings have been adjusted, the steps can be routed.
In the case of hard wood, it may be necessary to rout the steps in two work steps, using two routing depths.
-
According to this principle, all of the steps are removed and routed into the stringer elements.

-
A perfect fit – step by step! How to rout stairs quickly and easily.

-
Our illustrated guides and work results are documented working steps that we have performed in practice. They are individual examples and do not guarantee or promise that users will obtain the same results. The results will depend on the user's experience and skill, as well as the material being used. Illustrated guides do not replace any Festool operating manuals and/or safety instructions. Liability for ensuring that the information, instructions and applications are free from content defects and defects of title, in particular with regard to the absence of defects, correctness, freedom from third party intellectual property rights and copyrights, completeness and fitness for purpose, is excluded. Claims for damages made by the user, regardless of their legal basis, are excluded. These liability exclusions are not applicable if the damage was intentional or caused by gross negligence, or in cases of statutory liability.
We cannot accept liability for damage resulting from defects.↑


