Routing stair stringers using the multi-routing template
Description
This guide presents a solution which allows maximum flexibility when routing and can be easily adjusted to meet the required dimensions.
Tools/accessories
Alternative tools
Preparation/set-up
-
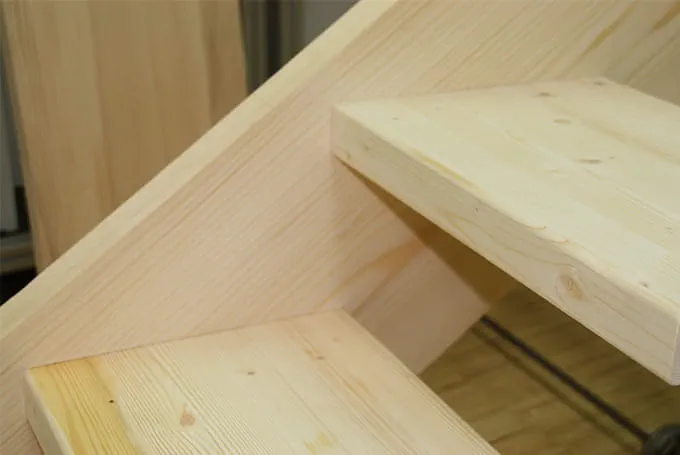
The example describes how to rout stair stringers with mortised steps and no risers using the MFS multi-routing template.

-
The stair stringer should be securely positioned and secured – the FESTOOL vacuum clamping system is the perfect solution to this problem. This makes it possible to clamp workpieces without damaging them and, most importantly, to move the MFS on the stringer without any clamps getting in the way.

Procedure
-
First, mark the stair stringer depending on the inclination and depth of the step.

-
Next, adjust the MFS. The template must be adjusted so that its length and width are greater than those of the step cross-section used by the difference between the copying ring diameter and cutter diameter.

-
For example:
Step depth = 264 mm
Step thickness = 42 mm
Copying ring diameter = 24 mm
Cutter diameter = 12 mm
MFS setting:
Depth: 264 mm + (24mm-12mm) = 276 mm
Thickness: 42 mm + (24mm-12mm) = 54 mm
-
The supplied back squares can be fitted to straight stair stringers. These allow the template to be moved to the next routing position. The template is always secured using two clamps.

-
After fitting the cutter, set the required routing depth, insert the copying ring and place the router on the template.
When the machine is switched on, move it into the wood and perform the routing – this can be done in multiple steps if necessary.
When beginning with the left-hand stair stringer, the template must be positioned so that it is mirrored for the right-hand stair stringer. The back square must also be repositioned.
-
After routing, the steps can be fitted for testing.

-
Tip: The cutter diameter should be chosen so that it corresponds to the subsequent corner radius of the step.
For example: Corner radius = R 6 mm
Groove cutter used = D 12 mm
-
Tip: By using a pair of extension profiles to extend the MFS, it can be set up in such a way that the step and riser can be routed in one clamping operation.

-
For mortised steps in particular, which may also have a vertical riser, creating a template can be an arduous process.
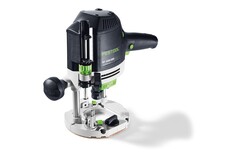
The MFS multi-routing template makes it easy to rout stair stringers with any stair router or router.
The benefits for users are most obvious when using the entire FESTOOL system.
-
Our illustrated guides and work results are documented working steps that we have performed in practice. They are individual examples and do not guarantee or promise that users will obtain the same results. The results will depend on the user's experience and skill, as well as the material being used. Illustrated guides do not replace any Festool operating manuals and/or safety instructions. Liability for ensuring that the information, instructions and applications are free from content defects and defects of title, in particular with regard to the absence of defects, correctness, freedom from third party intellectual property rights and copyrights, completeness and fitness for purpose, is excluded. Claims for damages made by the user, regardless of their legal basis, are excluded. These liability exclusions are not applicable if the damage was intentional or caused by gross negligence, or in cases of statutory liability.
We cannot accept liability for damage resulting from defects.↑


