


Routing a recessed handle

Description
Tools/accessories


Alternative tools/accessories
Preparation/set-up
-
The template for routing the recessed handle must be created extremely carefully. Any inaccuracies will be visible on the finished workpiece and are very difficult to correct later. A template produced with precision can also be used later for other workpieces.
The material thickness of the template should be at least 10 mm for drawer fronts with a thickness of between 15 and 19 mm. Multiplex panels are particularly suitable for producing templates as they are very hard and robust.
To guarantee that the template can be subsequently clamped, its dimensions should be at least 20 cm x 30 cm.
This example shows how to rout round recessed handles in wood; routing a hole with a Forstner drill bit is sufficient.
When using the 27 mm bearing guide, the required hole diameter is calculated as follows:
Required recessed handle diameter + 15 mm = hole diameter for template
-
Mark a cross on the underside of the template and drill into the centre of this mark.
Next, transfer the mark onto the inner surface of the hole, as shown in the picture.
-
Now align the router centrally in the hole.

-
This position is marked on the upper side using a pen. This step is vital because the router must subsequently only be inserted and removed in the centre. If routing is started or finished on the edge of the milling groove, this will produce notches in the recessed handle.

-
When inserting the cutter, the minimum clamping depth must be observed; this is important when setting up the router.
The minimum clamping depth is reached when the line below the V mark is hidden.
As previously mentioned, a bearing guide with a diameter of 27 mm is used.
This is used instead of the black plastic ring and centred using the ZD-OF centring mandrel.
-
To adjust the routing depth, place the router on the template.
Next, guide the stationary cutter on a flat surface.
Then set a routing depth of 16 mm at the depth stop.
Before routing the recessed handle, we recommend carrying out a test cut in order to check the routing depth.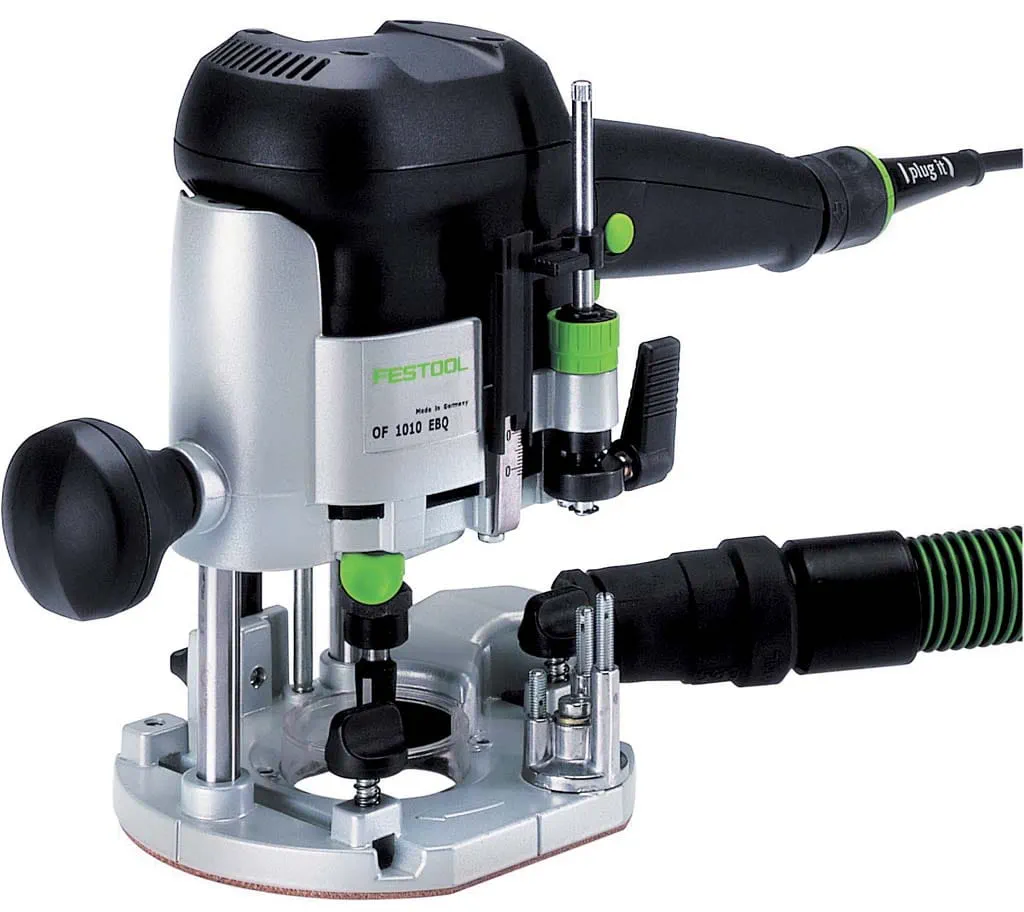


Procedure
-
Determine where you plan to rout the recessed handle into the workpiece and mark this position with a cross. The workpiece must be at least 19 mm thick. Otherwise there is a risk that you will rout through the workpiece.

-
Now place the template on the workpiece. The marks made on the template earlier make it easy to align them perfectly.

-
Secure the template on the workpiece using clamps. Ensure that the clamps do not hinder your ability to guide the router.

-
Align the router on the mark. Next, slowly lower the router into the material and rout in reverse direction. Remove the router once the machine comes to a full stop. The routing must finish in the centre, on the mark.

-
Tip: Since the router is pressed tightly against the template, no air can flow in. When routing small recessed handles, therefore, dust extraction systems do not function perfectly. Routing grooves into the underside of the template allows air to flow and significantly improves dust extraction.

-
In this picture, the groove can be seen at the back of the hole.

-
After routing the recessed handle, the recess must be lightly sanded.

-
Working with the MFS 400 routing template, for example, produces rectangular recessed handles. This shape can also be used for boxes.

-
This picture shows a handle which has been routed on a climbing wall. After routing, the surface was coated with a mixture of synthetic resin and sand.
This illustrated guide shows the wide variety of handle types and shapes that can be produced using the handle router. Routing this type of recessed handle into solid wood furniture emphasises the solid nature of the piece. Once the template has been made, it can be re-used in order to rout the same recessed handle quickly and easily.


-
Our illustrated guides and work results are documented working steps that we have performed in practice. They are individual examples and do not guarantee or promise that users will obtain the same results. The results will depend on the user's experience and skill, as well as the material being used. Illustrated guides do not replace any Festool operating manuals and/or safety instructions. Liability for ensuring that the information, instructions and applications are free from content defects and defects of title, in particular with regard to the absence of defects, correctness, freedom from third party intellectual property rights and copyrights, completeness and fitness for purpose, is excluded. Claims for damages made by the user, regardless of their legal basis, are excluded. These liability exclusions are not applicable if the damage was intentional or caused by gross negligence, or in cases of statutory liability.
We cannot accept liability for damage resulting from defects.↑
