Restoring shutters
Description
• significant weathering and paint damage occurs on the side exposed to the weather and the side facing the sun
• less significant weathering of the surfaces on the protected sides of the building
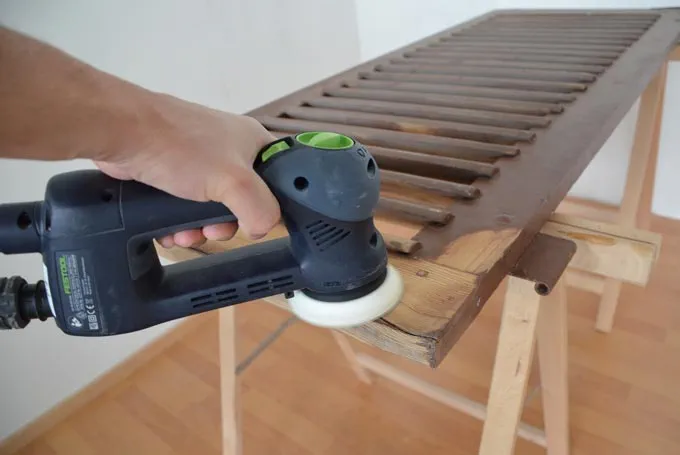
But the renovation work is made more complicated by the shape of the shutters, and it is crucial to select the right sanding tool and abrasive to sand the painted surfaces in the narrow gaps between the slats.
Tools/accessories
Alternative tools
Procedure
-
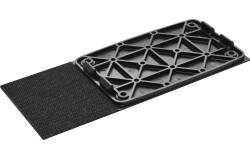
The DUPLEX LS 130 linear sander and slat sanding pad are ideal for sanding shutters that are not significantly weathered and have an intact coating without flaking. Alternatively, the fine sanding setting on the Rotex 125 can be used to restore shutters with minor surface weathering.
- Attach the slat sanding pad to the linear sander
- Set the speed to level 6.

-
- Attach Granat P 80 abrasive sheets to the front area of the slat pad
- Surface preparation
Tip: By folding the abrasive sheet over the front edge of the slat pad, it is also possible to sand the reverse of the slat above.

-
- Fit the standard sanding pad on the linear sander
- Set the speed to level 6.
- Attach the Granat P 80 abrasive sheet
- Sand the surface of the frame

Procedure
-
In some cases, it is necessary to sand a significantly damaged paint layer on the frame right down to the wood. This is best done using the Festool ROTEX RO 90, as it can switch between coarse sanding, fine sanding and even sanding into the corners when using the Delta pad.
Connect the extractor hose to the ROTEX.
-
- Set the speed to 6
- Coarse sanding setting

-
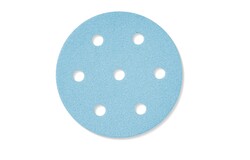
With the coarse sanding setting, the damaged paint is sanded off quickly using the Granat P60 sanding disc.

-
The surface is then sanded again briefly with the same sanding disc in fine sanding mode and prepared for repainting.
Tip: The Granat P 80-120 sanding discs can be used in fine sanding mode for regrinding, to further improve the surface quality.
-
To sand the slats, proceed as follows:
- ROTEX in Delta setting
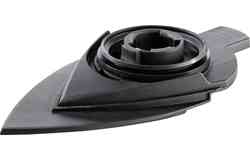
- Attach the slat sanding pad

-
- Attach Granat P60 to the slat sanding pad
- Set the speed to 6
- Sand the slats until the desired surface quality for recoating is achieved. Work up through the grit levels if necessary

-
Our illustrated guides and work results are documented working steps that we have performed in practice. They are individual examples and do not guarantee or promise that users will obtain the same results. The results will depend on the user's experience and skill, as well as the material being used. Illustrated guides do not replace any Festool operating manuals and/or safety instructions. Liability for ensuring that the information, instructions and applications are free from content defects and defects of title, in particular with regard to the absence of defects, correctness, freedom from third party intellectual property rights and copyrights, completeness and fitness for purpose, is excluded. Claims for damages made by the user, regardless of their legal basis, are excluded. These liability exclusions are not applicable if the damage was intentional or caused by gross negligence, or in cases of statutory liability.
We cannot accept liability for damage resulting from defects.↑


