Refurbishing wooden windows
Description
Tools/accessories
Alternative tools
Preparation/set-up
-
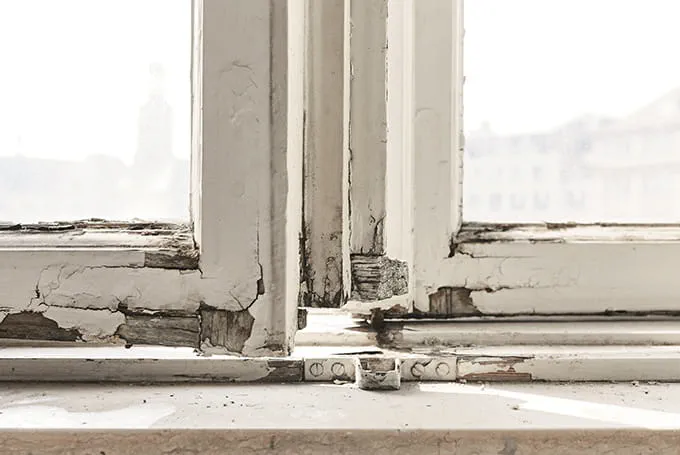
Examine the actual condition of the windows (off its hinges, lying flat) and identify damaged areas. Unsound coatings and damaged knot holes should be removed.

Procedure
-
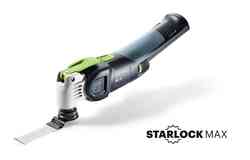
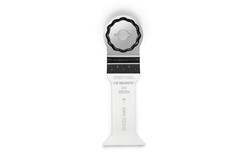
Remove any rotten wood that is not viable using the VECTURO cordless oscillating tool and Starlock universal saw blade.

-
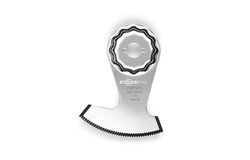
If necessary, carefully remove glass pane. Complete removal of the window putty using the cordless Vecturo oscillator and StarlockMax segment saw blade

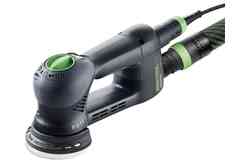
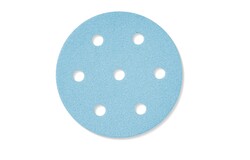
- Remove old paint from the damaged area using the ROTEX RO 90 – select coarse setting for high material removal capacity. Depending on the condition of the substrate, use Granat abrasive P60–P100.

-
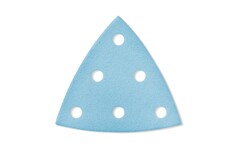
After coarse sanding, set the ROTEX RO 90 to fine and use Granat abrasive P100–P180. Sanding corners or narrow seams using the ROTEX and the Delta pad attachment used in conjunction with Granat P60–P120.

-
Check the condition of the area to be worked on following removal of the old paint and the damaged material.

-
Apply DRY FIX UNI adhesive to the damaged area with a brush. This increases the adhesive strength of the coating and the lifespan of the wood.

-
Select two-component wood repair compound; mix DRY FLEX compound with the filler on a smooth surface.

-
Fill the repair area on the wooden window with DRY FLEX and smooth it out. In the case of recessed damage to the wood (e.g. knot holes), fill in the corresponding areas.

-
Apply DRY FLEX wood repair compound and smooth out at the damaged area of the wooden window, particularly ensuring that any holes are completely sealed with no air pockets.

-
After the wood repair compound is well-set, sand any excess surface. It is recommended that you use the ROTEX RO 90 on the coarse setting and Granat P80–P120.

-
After sanding, check the damaged area that has been processed; in particular, there must be a flawless, flat surface transition between the wood and DRY FLEX wood repair compound. Only then can the best result be achieved when refurbishing windows.

-
Prime the rebate on the wooden window and apply DRY SEAL window putty using a cartridge gun.

-
Insert the pane, apply DRY SEAL window putty and remove so as to be water-repellent.

-
Apply the base, intermediate and final coating using a brush or roller (several applications may be necessary. After the coating has been applied, the window restoration is finished.

-
Our illustrated guides and work results are documented working steps that we have performed in practice. They are individual examples and do not guarantee or promise that users will obtain the same results. The results will depend on the user's experience and skill, as well as the material being used. Illustrated guides do not replace any Festool operating manuals and/or safety instructions. Liability for ensuring that the information, instructions and applications are free from content defects and defects of title, in particular with regard to the absence of defects, correctness, freedom from third party intellectual property rights and copyrights, completeness and fitness for purpose, is excluded. Claims for damages made by the user, regardless of their legal basis, are excluded. These liability exclusions are not applicable if the damage was intentional or caused by gross negligence, or in cases of statutory liability.
We cannot accept liability for damage resulting from defects.↑


