Recessing fittings and hinges in the edge area
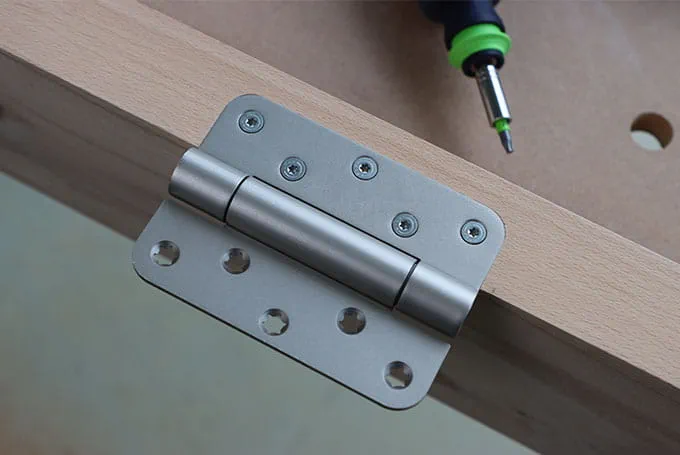
Description
Tools/accessories
Alternative tools
Preparation/set-up
-
Selecting the router diameter
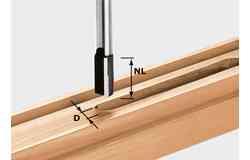
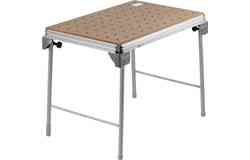
Firstly, the required router diameter must be determined. This depends on the corner radius of the fitting. The diameter is normally specified by the manufacturer of the fitting, or can alternatively be easily calculated by placing the hinge to be recessed into the multi-routing template. In our example, the diameter is 20 mm. If you want to recess hinges with no corner radius, the router diameter is relatively immaterial, because the corners will subsequently have to be mortised square anyway. In this instance, it is advisable to use a diameter that is easily calculated when setting up the template. For instance, a 20 mm diameter router for a 30 mm diameter copying ring.

-
Fitting the copying ring
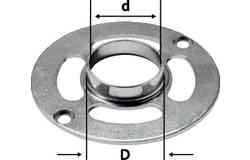
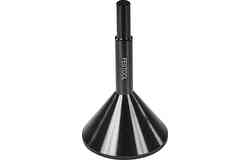
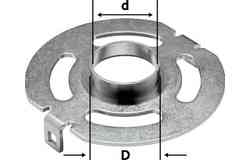
Once the router diameter has been determined, the corresponding copying ring diameter can be selected. This means selecting a copying ring that is only as large as necessary yet as small as possible. Next, the copying ring is aligned perfectly centrally with the help of the centring mandrel then fixed in place with the screws provided.

-
Mounting the router
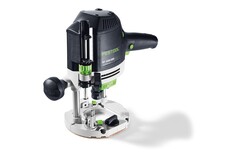
The router is clamped in place as described in the operating instructions. Ensure the minimum clamping depth is observed; this is indicated on the router with the following symbol: >|

-
Calculating the setting dimension of the hinge height
In order to be able to set up the template perfectly, initial calculations are required. The difference between the copying ring diameter and the router diameter must be added to the hinge height. In our example, the 30 mm diameter copying ring less the 20 mm diameter router gives a difference of 10 mm. This 10 mm must then be added to our hinge height of 120 mm, giving the template a setting dimension of 130 mm.

-
Setting the template
This calculated measurement is set on the long edge of the template, by loosening the diagonally opposite clamping screws and aligning everything precisely with the scale.

-
Calculating the setting dimensions of the hinge leaf width
For the hinge leaf width, there are two factors to set. Firstly, the clearance that needs to be set on the template. For this, as a minimum, the copying ring diameter must be added to the leaf width. This ensures that the router can be lowered in front of the workpiece. In this example, therefore, 32 mm plus 30 mm equals 62 mm.

-
Setting the template
This dimension is now adjusted on the template accordingly. This does not need to be set exactly; the more decisive measurement comes in the next step.

-
Setting the stop angles
To set the stop angles, the difference between the copying ring diameter and the router diameter is halved and added to the hinge leaf width measurement. In this example, therefore, 10 mm divided by two, plus 32 mm equals 37 mm. This dimension is set between the inside edges of the template and the stop angle, as illustrated.

-
Aligning the template
In order to align the template perfectly to the workpiece, it is advisable to use a pencil to mark the corresponding centre point on the template. This can be aligned very easily to the centre marking of the hinge that is to be routed.

-
Fitting the template
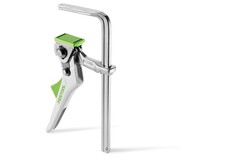
Here the template is clamped directly on to the stop angles by means of lever clamps. Depending on the workpiece, the clamps can also be used in the corresponding grooves.

-
Fitting the template
On the right-hand side, it may be necessary to use a block as well. The necessary preparations to recess a hinge are now complete. The template can now be used for as many hinges, hinge systems or other fittings as needed, without having to repeat measurements or adjustments.

Procedure
-
Setting the routing depth
To set the routing depth, the router is placed on the template, the router is lowered onto the workpiece and using the scale and the fine adjustment, the thickness of the hinge leaves can now be set.

-
Tip for setting the routing depth
To set the routing depth even faster and with more precision, the fitting can be clamped between the depth adjustment once the router is lowered onto the surface of the workpiece.

-
Correcting the routing depth
When required, the routing depth can be corrected to the nearest tenth of a millimetre using the fine adjuster, if it does not fit exactly after the first test rout.

-
Completing the routing
The router is placed on the template and lowered in front of the workpiece. The routing can then commence, with the router guided along the template with the copying ring. Finally, the router clears out the intermediate space.

-
Minimising splinters
In order to minimise splinters in the edge area, a small section is first routed on the right of the template.

-
Minimising splinters
A strip is now routed along the edge from left to right.

-
Minimising splinters
Only then is the router guided along the template in a clockwise direction. This gives clean, splinter-free routing results.

-
Result
The result is a cleanly recessed fitting. The multi-routing template is ideal for jobs like this, because it is quick to set up, and can be adjusted on all dimensions and even edge distances can be set via the angle stops. Of course, it's not only hinges or hinge systems that can be recessed using the template, but many other fittings too.

-
Our illustrated guides and work results are documented working steps that we have performed in practice. They are individual examples and do not guarantee or promise that users will obtain the same results. The results will depend on the user's experience and skill, as well as the material being used. Illustrated guides do not replace any Festool operating manuals and/or safety instructions. Liability for ensuring that the information, instructions and applications are free from content defects and defects of title, in particular with regard to the absence of defects, correctness, freedom from third party intellectual property rights and copyrights, completeness and fitness for purpose, is excluded. Claims for damages made by the user, regardless of their legal basis, are excluded. These liability exclusions are not applicable if the damage was intentional or caused by gross negligence, or in cases of statutory liability.
We cannot accept liability for damage resulting from defects.↑


