Connecting posts – domino dowel joint instead of mortise and tenon joint
Description
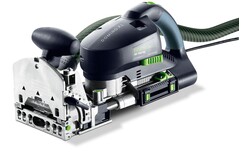
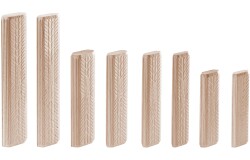
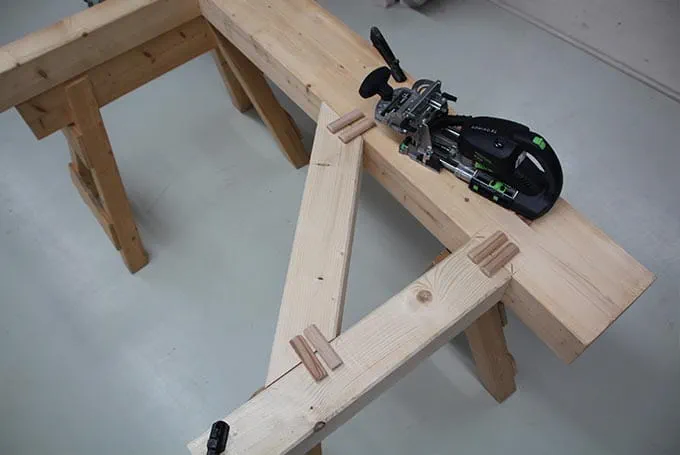
When joining construction timbers, these days traditional wooden joints, such as mortise and tenon, are often replaced with various metal joints (screws, brackets, bolts, etc.). The advantage of traditional wooden joints is that they are easy to assemble, as the purlins and posts can be slotted together. In this example, domino dowels are used instead of a mortise joint in order to produce a push-in connection. This speeds up assembly and delivers the cleanest results. The Domino XL joining machine is used for this primarily.
Material list
- Wood to be joined
- Here 12/22 purlin, 12/12 post, 12/12 brace
Tools/accessories
Alternative tools
Preparation/set-up
-
DF 700 cutter replacement
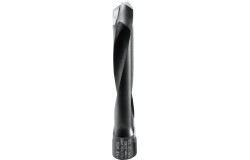
First, as per the guide, a 14 mm cutter must be fitted into the DF 700.

-
Setting the routing depth on the DF 700
In this example, a routing depth of 50 mm is used. The routing depth must be set in accordance with the operating manual.

-
Applying position markings
Precise marking is essential to ensure an accurately fitting purlin and post joint. In this example, a mark is applied to the brace 10 cm from the front edge.

-
Purlin position marking
To ensure a precise connection, now apply another exact marking for the post to the purlin.

Procedure
-
Using the stop pin for routing post ends
For the first milling groove on the post ends, select the centre stop pin. This corresponds to the position of the triangular viewing window on the fastening table. This enables positioning on the post ends by means of the stop pin and on the purlin using the viewing window. It is imperative that a mobile dust extractor be attached when working with the DOMINO XL.

-
Using the stop pin for routing post ends
DOMINO XL positioned on the post

-
Routing on posts
The second milling groove is made on the post end. When doing this, ensure that the stop pin is positioned on the first routing edge. The first milling groove serves as an alignment aid and saves time-consuming marking.

-
Repeat the milling grooves on additional wooden posts if necessary.

-
Routing on purlins
Now position the DOMINO XL on the post marking and complete the first milling groove. Then complete the second milling groove, thereby ensuring that the stop pin (centre pin) is positioned in the first milling groove again.

-
Routing on purlins
Here: Left side of the post marking in the triangular viewing window

-
Machining cutting edges
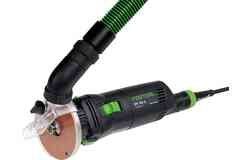
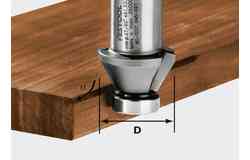
Fit a 45° chamfer cutter to the edge router and machine the appropriate edges.

-
Machining cutting edges
The use of a mobile dust extractor is recommended.

-
Inserting dowels
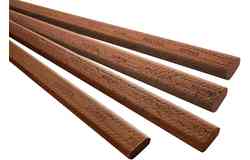
Now insert the domino dowels. Add some polyurethane glue as required.

-
Connecting joints together

-
Connecting joints together

-
Tightening screws
To create a solid connection, then also tighten the screws that are required structurally.

-
Purling finished joint
The use of Domino dowels to position the construction timbers precisely enables quick and easy connection of the purlin to the post.

-
End results

-
Our illustrated guides and work results are documented working steps that we have performed in practice. They are individual examples and do not guarantee or promise that users will obtain the same results. The results will depend on the user's experience and skill, as well as the material being used. Illustrated guides do not replace any Festool operating manuals and/or safety instructions. Liability for ensuring that the information, instructions and applications are free from content defects and defects of title, in particular with regard to the absence of defects, correctness, freedom from third party intellectual property rights and copyrights, completeness and fitness for purpose, is excluded. Claims for damages made by the user, regardless of their legal basis, are excluded. These liability exclusions are not applicable if the damage was intentional or caused by gross negligence, or in cases of statutory liability.
We cannot accept liability for damage resulting from defects.↑

