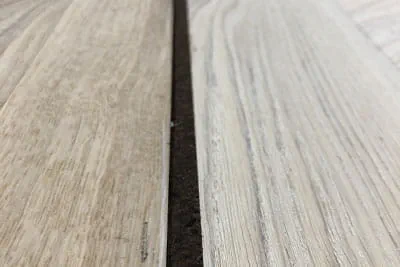
Retrospectively fitting an expansion joint to parquet flooring in a doorway using cork strips
Description
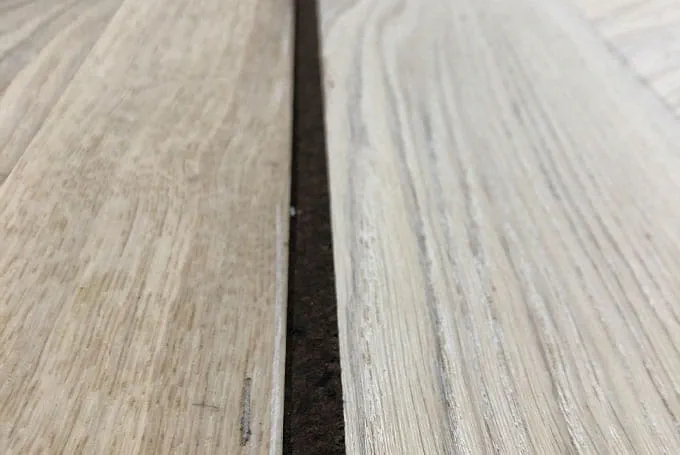
Expansion joints do not stay open though, but are filled specifically in this area with a matching cork strip, which is barely visible after completion, unless it is desired in terms of colour, as in this example. It is not always possible to be able to neatly fit the expansion strips directly when laying the floor. With the right tool, it can be cut into at any time retrospectively and the cork strips very neatly incorporated and processed. So there is no need for inconvenient and unsightly transition strips and it is at ground level with the wooden floor, without other unattractive ridges.
Material list:
- Appropriate quantity of cork strips slightly higher than the actual wooden floor
- Mounting adhesive, spray cartridge, box cutter
Tools/accessories
Alternative tools
The following tools and accessories are recommended as an alternative:
Preparation/set-up
-
Length of the joint
Adapt the cork strips to the length of the joint using a sharp box cutter.

-
Adapting the width of the cork joint
The width measurement of the cut for the cork strips is minus 1 mm. If necessary mark neatly on both sides and draw a line if required. The cork strips should fit tightly in the joint.

Procedure
-
Setting the cutting depth
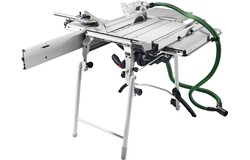
Then place the appropriate guide rail at the marked point. Do not forget to set the plunge-cut saw for the cut to the corresponding height of the flooring. In my case (see photo) this was 15 mm. Please engage the guide rail setting, as the guide rail is automatically included. Then cut both sides, if necessary.

-
Trimming the edges
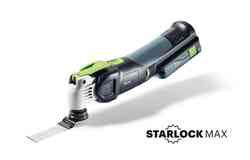
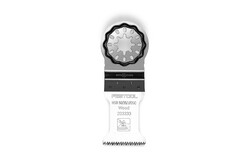
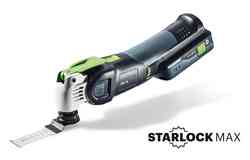
Since the plunge-cut saw cannot saw right up to the wall, the oscillator must help things along here. To do this, I take the guide rail as a guide, but turn it round by 180° onto the groove side, in order not to ruin my splinter guard. Then I use a wood plunge blade and guide the blade carefully along the rail up to the edge and remove the offcuts from the joint.

-
Slight tapering of the cork strip
In order to be able to install the strips later easily and without having to use much force, I saw a slight taper along the whole length. This means it is a bit easier to install in the joint.

-
It can also happily be re-sanded
If the strip can then be positioned gently in the joint, adhesive can be sprayed into the groove.

-
Applying mounting adhesive
Then apply the adhesive into the joint using a spray. caution! Please do not use too much. If the cork strip is well aligned, it will already sit very tightly in the joint by itself.

-
Positioning the strips and pressing down well

-
Tapping down with a hammer
Then using a hammer and a wooden block, gradually tap the cork in tightly.

-
Along the whole length …
… a small excess will remain

-
Applying protective masking
In order not to cause any damage to the wood when reworking the cork, we use masking tape and attach this lengthwise on both sides.

-
Lowest level on the oscillator
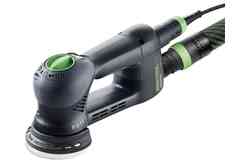
For trimming, we use the oscillator again (can be with a butted saw blade) and set the speed to level 1. Otherwise the cut is too aggressive and we may damage the wood.

-
Trimming the excess
Then we switch the machine on and position the blade very carefully and relatively flat, and carefully sand away the excess. Please do not apply pressure to the machine.

-
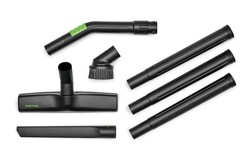
Hoovering the surface

-
Fine sanding
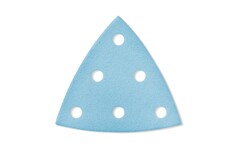
Using the Rotex triangular attachment and 80 grit, the last fine-tuning can then be completed very easily. Please finely re-sand the whole strip.

-
Removing the adhesive tape – finished

-
Our illustrated guides and work results are documented working steps that we have performed in practice. They are individual examples and do not guarantee or promise that users will obtain the same results. The results will depend on the user's experience and skill, as well as the material being used. Illustrated guides do not replace any Festool operating manuals and/or safety instructions. Liability for ensuring that the information, instructions and applications are free from content defects and defects of title, in particular with regard to the absence of defects, correctness, freedom from third party intellectual property rights and copyrights, completeness and fitness for purpose, is excluded. Claims for damages made by the user, regardless of their legal basis, are excluded. These liability exclusions are not applicable if the damage was intentional or caused by gross negligence, or in cases of statutory liability.
We cannot accept liability for damage resulting from defects.↑


