Flush trimming edge veneer on straight edges with edge router
Description
Tools/accessories
Preparation/set-up
-
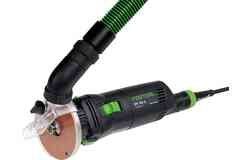
The edge router is set up as follows:
First, insert the HM flush cutter into the edge router.
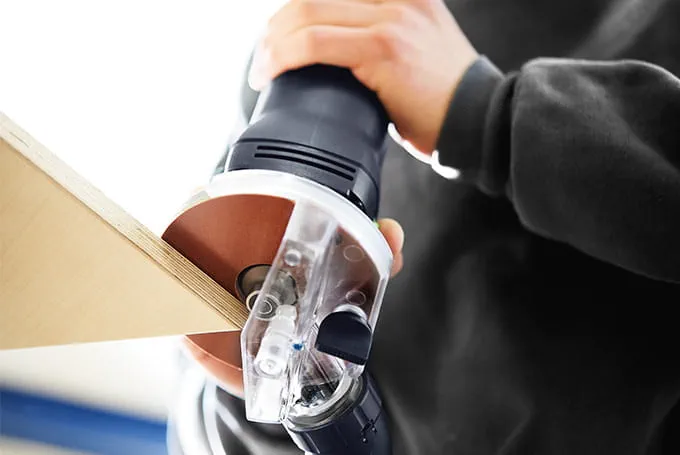
Next, hold the rod edge router against the edge veneer/feature edge to be routed and turn the cutter outwards until it can machine the edge veneer/feature edge across its entire width.
-
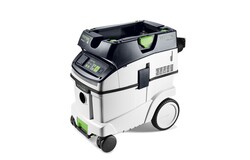
Finally, connect the mobile dust extractor to the extractor connector on the edge router in order to flush trim the edge veneer without generating dust.

Procedure
-
For most routing work, a test rout should be carried out before starting, in order to ensure that the settings are correct and that routing can be carried out successfully as planned. This test rout should always be carried out using a test piece and never on the original workpiece.
The edge router is positioned on the workpiece first. During this step, the cutter should not touch the feature edge.
-
Next, the router is switched on and moved against the edge veneer.
The edge of the panel to be machined must be removed completely. When the end of the panel is reached, switch off the edge router.
When flush trimming edge veneers, ensure that work is carried out in reverse direction; this means that the cutter is moved in the direction in which the cutter is rotating.
-
Our illustrated guides and work results are documented working steps that we have performed in practice. They are individual examples and do not guarantee or promise that users will obtain the same results. The results will depend on the user's experience and skill, as well as the material being used. Illustrated guides do not replace any Festool operating manuals and/or safety instructions. Liability for ensuring that the information, instructions and applications are free from content defects and defects of title, in particular with regard to the absence of defects, correctness, freedom from third party intellectual property rights and copyrights, completeness and fitness for purpose, is excluded. Claims for damages made by the user, regardless of their legal basis, are excluded. These liability exclusions are not applicable if the damage was intentional or caused by gross negligence, or in cases of statutory liability.
We cannot accept liability for damage resulting from defects.↑


