Chamfering and rounding wooden edges
Description
Tools/accessories
Preparation/set-up
-
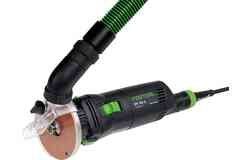
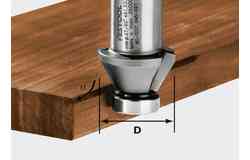
Insert the desired router bit into the OFK 500. Then fasten the acrylic glass dust extraction attachment using the clamping screw.
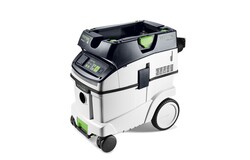
Important: The spring-loaded plastic part serves as the ball bearing brake and must sit on the copying ring. Adjust the required routing depth by rotating the black ring above the router table. Finally, connect a mobile dust extractor to the edge router.

-
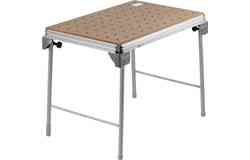
Attach the workpiece to a stable base, e.g. the MFT multifunction table, in order to chamfer the wood edges. Secure the workpiece so that the edges can be processed with ease. For example, the Festool vacuum clamping system – the VAC SYS – is suitable for this. It can be secured to the MFT via an adapter plate. To chamfer edges, the workpiece can also be swivelled and easily brought into the required position via a rotation mechanism.

Procedure
-
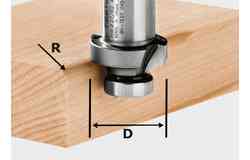
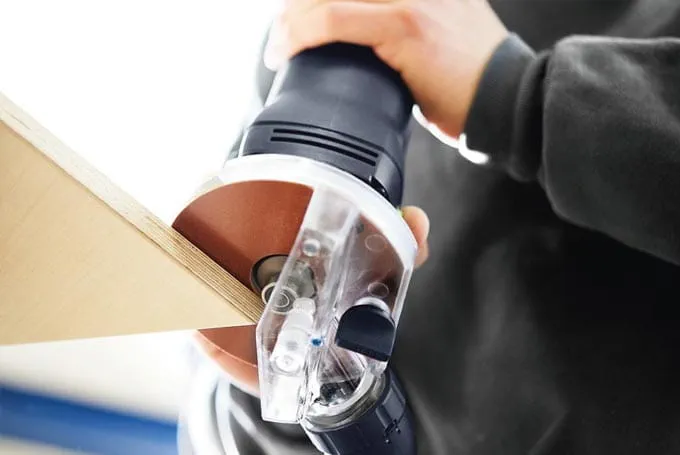
Switch on the edge router near to the workpiece to chamfer the edges. Guide the tool flush along the edge and rout the required profile in the opposite direction. To prevent burn marks, evenly go along the edge up to the end of the workpiece and then switch the tool off again after routing the edge.

-
To round the wooden edges, the tool can be used horizontally or vertically on the workpiece. When chamfering wood edges, make sure that the router is always securely seated in order to obtain an even and constant result.

-
Our illustrated guides and work results are documented working steps that we have performed in practice. They are individual examples and do not guarantee or promise that users will obtain the same results. The results will depend on the user's experience and skill, as well as the material being used. Illustrated guides do not replace any Festool operating manuals and/or safety instructions. Liability for ensuring that the information, instructions and applications are free from content defects and defects of title, in particular with regard to the absence of defects, correctness, freedom from third party intellectual property rights and copyrights, completeness and fitness for purpose, is excluded. Claims for damages made by the user, regardless of their legal basis, are excluded. These liability exclusions are not applicable if the damage was intentional or caused by gross negligence, or in cases of statutory liability.
We cannot accept liability for damage resulting from defects.↑


