


Whether in the workshop, on the construction site or at home: The Festool App is your companion for smart working and perfect results.
Scan the QR code and install the app.
Problems often occur when painting doors. This can lead to streaking or adhesion problems. To achieve a perfect result when refurbishing and painting a door, it is important to use the right tools and suitable paints.
List of materials and tools:
Prepare a work area so that you can work clean and dust-free. We recommend a suitable system consisting of a vacuum cleaner, sander and suitable abrasives.
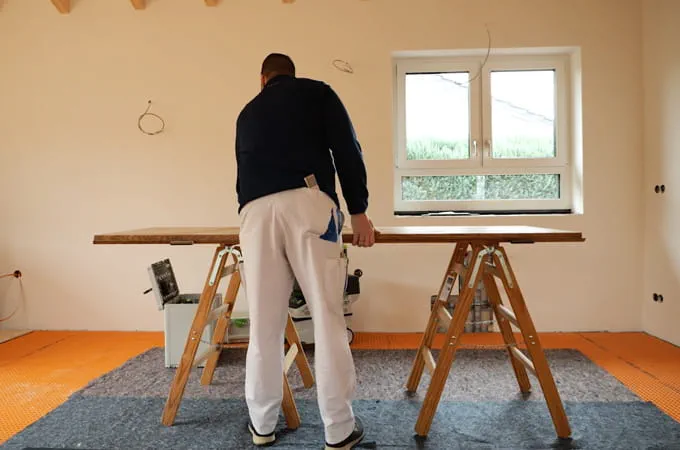
The first step is to check the door. Is there any visible damage or is the door rubbing against the floor? If there are any problems, we recommend adjusting the door to the floor height. The floor height often changes during renovations - whether due to underfloor heating or a new floor covering. We therefore measure the new height at the door hinges and shorten the door leaf to the right height using the Plunge-cut saw and Guide rail.

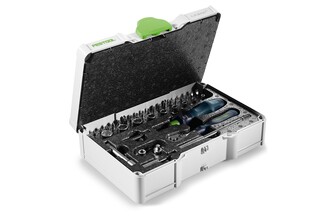
We then check the fit of the door. By hanging the door leaf, we can determine whether it is rubbing anywhere or jamming when opening and closing. If this is the case, the door must be readjusted. For the subsequent painting, we unhinge the door again and remove the fittings with the ratchet set. We are then ready for the next step.

Now we sand the door. To do this, we use an Eccentric sander - ideally the ETSC 2 150 - to achieve an even and high-quality surface finish. We recommend using Granat universal sandpaper with a grit size of P180 as the abrasive. This ensures that both sides of the door leaf are sanded evenly. Thanks to the integrated light, any unevenness or damage to the surface of the door can be recognised directly and marked with a Pin if necessary.

An orbital sander is recommended for sanding the rebates on the door leaf. For example, an RTSC 400 can also be used here with a grit size of P180. The rebates can be sanded more easily thanks to its perfect fit. Hard-to-reach areas are reworked with a Manual abrasive. After sanding, dust should be removed from the door. A suitable vacuum cleaner with a Suction brush is suitable for this.

When sanding the door with the ETSC 2 and its integrated light, imperfections and scratches become apparent. The surface is inspected again with the small KALC working light and damaged areas are marked with a pencil. The damage is then levelled out with a Japanese spatula and synthetic resin or fine filler to achieve the smoothest possible surface. Tip: When applying the filler, make sure that it is removed cleanly to achieve an even result.

While the levelling compound is drying on the door leaf, the door frame is also prepared. The procedure is largely the same as for the door leaf. An orbital sander such as the RTSC 400 is recommended for the frame, as it has many edges and rebates. Here, too, we use Granat abrasive paper with P180 grit. Finishes and details can then be reworked with the Granat Manual abrasive. The remaining dust is removed with the Suction brush and the CTMC Midi. Damaged areas must also be repaired with filler and Japanese filler.

The damaged areas on the door leaf and door frame filled in steps 5 and 6 are sanded again after drying. Here too, we recommend using an eccentric disc sander with Granat paper abrasive P180 to create an even surface and remove any unevenness created during Scraper. After sanding, the door must be Dust extraction again. Check the surface again with the KALC and touch up any other damaged areas. And repeat the work steps. This work step is also carried out on the door frame.

Before painting, the surfaces are cleaned again with a dust-binding cloth. In places that are difficult to access, mask off with gold tape to protect the wall, for example. The painting tools and the undercoat to be used are prepared and can be placed on the CTMC Midi at a comfortable working height. we recommend covering the Dust extraction unit with a newspaper for protection and storing the tools and paint in a bucket to avoid unnecessary contamination.

The lacquer recommended and used here is an alkyd resin-based, solvent-based lacquer system. This allows us to completely coat the door with just two coats. With water-based systems, an additional insulating primer would have to be applied. The primer is applied evenly with a paint roller. A brush can also be used in hard-to-reach areas. When applying, ensure an even coating to avoid streaking and dripping.

In the next step, the door leaf is also painted with the primer. We start at the rear rebate and can then hang the door to paint the remaining rebates with a brush. The surfaces of the door leaf are then treated with the undercoat. When doing so, make sure to roll the surface linearly from top to bottom in order to achieve an even application. To keep the door leaf stable during painting, we recommend using a wooden wedge - this ensures that the door leaf stands securely and does not wobble.

The door must first dry after the primer. The brush can be placed in a glass of water so that it does not harden and can be reused. The paint roller must be disposed of.

Once the undercoat has dried, it is advisable to check the door again for damage. If further damaged areas are discovered, these can be repaired again with fine filler. Cracks or similar areas can also be repaired with acrylic. Once the repaired areas have dried, the surfaces and any remaining filler are sanded down again. For large areas, we recommend using an Eccentric sander, ideally with P400 grit Granat sandpaper. Details and hard-to-reach areas can be worked on with a sanding sponge. Do not use coarser grits, otherwise the undercoat will be removed too much. Finally, Dust extraction and clean the surface with a dust binding cloth.

For the second coat of varnish, we use a silk gloss varnish, also a synthetic resin and solvent-based system. The door is unhinged again for painting and we start with the frame. Then, as before, the inner rebate of the door leaf is painted before the door is re-hung. Now the rest of the rebate and finally the surfaces can be painted. Thanks to the solvent-based paint, there is enough time to spread the paint evenly with the roller. After about 10-15 minutes, the surface should be checked again to ensure that the lacquer has been applied evenly; minor touch-ups can be made if necessary.

After drying, the fittings are reattached to the door. The ratchet set can be used again for this. The door is then finished and you can move on to the next project.
